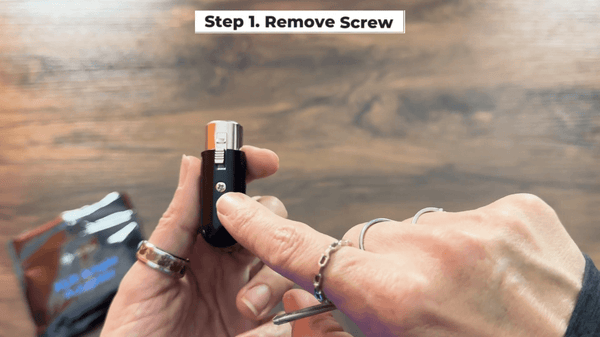
Locate the screw on the XLR Angle Adapter. This can be found either on the female side or the male side, depending on which side you wish to adjust.
Using the small Phillips head screwdriver, carefully remove the screw holding the connector in place. Ensure to keep the screw in a safe place for reattachment.
Step 2: Extracting the Connector
Gently pull out the connector from its housing. It’s important to use finesse to avoid damaging the connector.
For the female side: Use your fingers to gently pull the connector out.
For the male side: Employ needle nose pliers to gently tug the pins, allowing the connector to slide out.
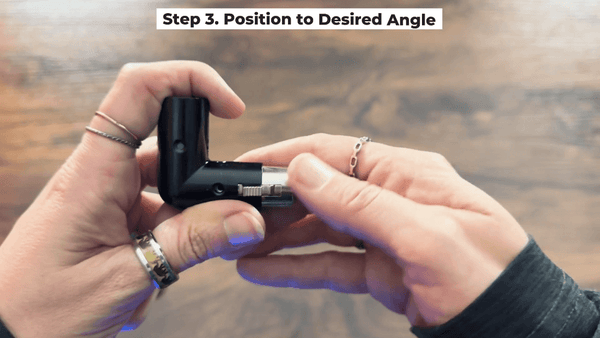
Step 3: Adjusting the Connector Angle
Position the connector to your desired angle. This adjustment is based on personal preference and the specific requirements of your audio setup.
Ensure the connector is correctly aligned by checking if the screw holes on the connector and the adapter are lined up.
Step 4: Reattaching the Connector
Once the desired angle is achieved, reinsert the screw into the aligned holes.
Tighten the screw securely using the Phillips head screwdriver. Be careful not to overtighten, as this may damage the connector or the adapter.